

Even when we vary our workouts, it’s very rare we stray outside of the same forward-facing motion.
For example, when you perform a deadlift, the motion is all forwards and backwards.
It’s ideal to develop our functionality like this, as we live and move using ‘sagittal movement’ (forwards and backwards) all the time; standing, sitting, walking upstairs, pushing a pram in the park.
But if you only train in this way, then you’re missing out on developing your 360 degree functionality.
And that’s why the multi-directional lunge is a must-learn exercise …
Benefits of the multi-directional lunge
- Strengthen the stabiliser muscles in and around your engaged joints (hips, knees, ankles).
- Minimise the risk of muscular imbalances and injury
- Enhance your performance in all other physical activity through reinforced supportive muscles
- Develop muscles all around the lower body
- Improve your mobility
- Improve your balance
- Improve your core stability
- Simple movements
- Can be done with or without weights
Once you start using the multi-directional lunge on a regular basis, then you begin to feel the benefits in your other workouts. The back squat relies heavily on lower body stabiliser muscles in the knees and hips.
Overall, you gain enhanced ‘structural integrity’ from the multi-directional lunge, which is perfect both when you’re just starting at the gym and even when you’re deep into a loaded training programme.
Beyond the gym, this improved functional strength, stability and mobility comes into effect all the time …
If you’re a Londoner, then you’ll probably know how difficult it can be to run up and down the escalator when you’re catching the Tube, all the while carrying a bunch of bags and sidestepping the slow walkers between platforms. Try it after you’ve been lunging for a month and you’ll feel superhuman as you slalom to through the station.
The same applies if you play any kind of sport – that enhanced ability to move is noticeable both in how you feel and how you perform.
If you’re going to attempt the multi-direction lunge, make sure you have a good amount of space to yourself in the gym and remember the following key points:
- Keep your head and eyes straight ahead at all times
- Keep your hips forward at all times
- Keep your toes forward at all times
At various stages during the workout, it will be tempting to alter the angle of your hips – avoid this as it can lead to injury. If you or your spotting partner notices any dip in form, then restart the exercise or back-out altogether.
How to do the multi-directional lunge
This workout incorporates five different lunge types and it’s essential to maintain clean form throughout each:
- Forward lunge
- 45-degree forward lunge
- Side lunge
- 45-degree backward lunge
- Backward lunge
- We get into all five movements below.
First, it’s time to choose your weight:
- No weights
- Dumbbells
- Kettlebells
- Olympic Bar (typically 20 or 25 kg)
- Weighted bar
If you’ve never attempted a lunge before, then it’s advised to start out by using just your bodyweight alone.
Once you’re comfortable and confident with the form, move onto a low weighted bar or an empty olympic bar (usually weighs between 20 and 25kg), then up through the various weights in stages.
Further into your training, you can also shoulder press the bar over your head as you lunge – otherwise known as a “Lunge Press”..
Alternatively, you can use kettlebells or dumbbells in a different way (you’d hold the bar and kettlebells up with your shoulders, whereas you’d hold the dumbbells down by your sides).
The principles on form are very much the same across all the different weight options. For the purpose of this guide, we’ll focus on the kettlebells …
- Get into position
Grasp the kettlebells by the handles and with your palms facing forward, hold them at shoulder height (the ball of each weight should rest against the back of your forearm).
Set your feet apart.
Tip: To judge how far you should keep your feet apart, keep them vertically in line with your shoulders.
As we covered above, fix your eyes, hips and toes all straight ahead.
2. Forward lunge
Step forward with your right leg, placing your heel on the ground first. Then sink your hips until both knees bend at 90 degrees.
Keep your abs and lower back braced. And keep your upper body straight – resist the urge to look down at any point.
Tip: To figure out if you’re executing the right angle here, your right knee should be vertically in-line with your right ankle. And your left knee should not be touching the floor.
3. Resume your original stance
Press all the weight into your heels and rise back into your stance from step one.
4. 45-degree forward lunge
Step out with your right leg again, this time at a 45-degree angle.
Keep your eyes, hips and toes straight ahead. It may feel natural to turn your hips slightly here but concentrate on staying as square as possible.
Now dip your hips again as you bend the left knee (still keeping it from touching the floor).
5. Resume your original stance
See step 3.
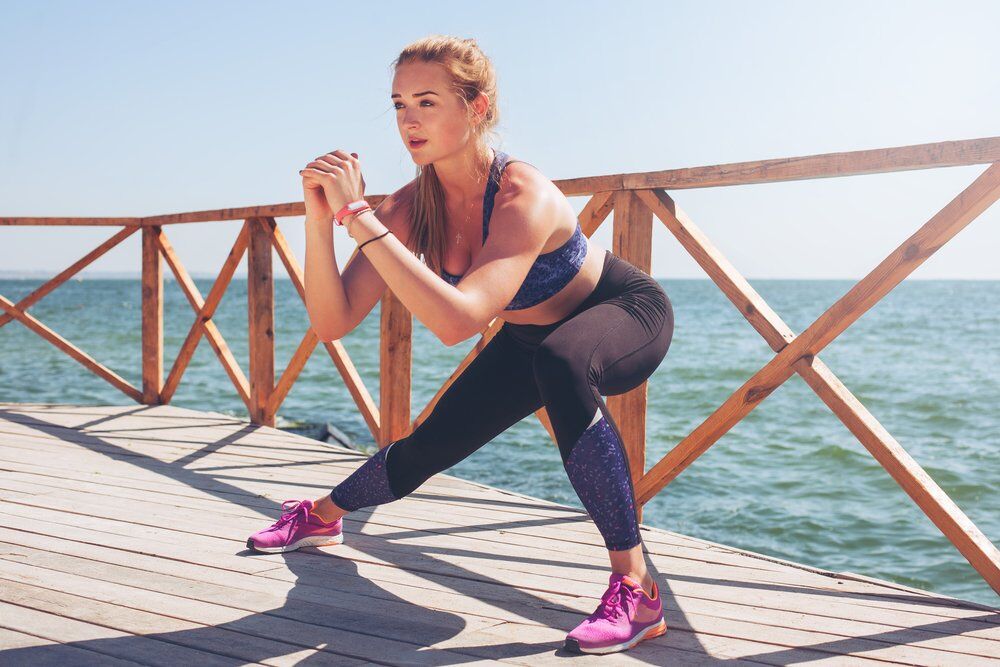
6. Side lunge
Step your right leg outwards at a 180 degree angle.
Remember to keep all the focus points straight ahead (eyes, shoulders, hips and toes).
You are not bending the left knee this time, just the right knee. Your left leg takes the strain in your groin when side lunging.
Resume your original stance
See step 3.
Backwards 45-degree lunge
Step backwards with the right leg at a 45-degree angle and drop your back knee towards the floor (without touching it).
Note: Due to the natural way your foot will move here, your toes will come into contact with the floor before your heel, which is normal and safe.
Resume your original stance
Press the toes of your right foot into the floor and mainly use the power in your left heel to rise back to the standing position.
Backwards lunge
Step straight backwards with your right leg and touch the floor with your toes first. Lower your right knee towards to floor but do not touch it. This position is almost a direct reverse of the forward lunge. Bend both knees at 90 degrees.
Resume your original stance
See step 9.
Restart the workout from the forward lunge, only this time with the left leg stepping out first.
Tips on the multi-directional lunge form
Once you have your eyes, shoulders and hips straight – freeze them in that position for the entire workout
Avoid treating the standing position as a resting opportunity – keep your core muscles locked tight and upright until you’re done
Resist lunging too fast – clean form is more important than speed or weight
If you find yourself relying on the momentum of a previous lunge to swing you into the next, then pause the workout and restart (or exit)
Some closing advice on the multi-directional lunge
Always try to lunge in front of a mirror or with a spotting partner. There’s a lot of things to focus on when it comes to form … and you can’t look down to check everything because your neck needs to be aligned straight at all times.
Work on your form without any weight. Some people still like to mimic the stance of a weighted lunge and effectively grab an invisible bar. Others prefer to place their hands on their hips.
If you’re just starting out, then you may notice your body struggling to keep balance. This is likely to be because your stabiliser muscles are not used to being so engaged – not because you have inherently poor balance.
This will improve the more you practice the exercise, which is why it’s recommended to start with light weights (or no weights at all).
If there was something you hoped to get from these multi-directional lunge instructions that we haven’t covered – please let us know in the comments.
Sources:
http://www.shape.com/fitness/workouts/know-your-basics-how-do-lunge
http://www.musclemagfitness.com/bodybuilding/exercises/lunges.html
https://www.youtube.com/watch?v=HAfEGsJqJjA
No Comments yet!