

Performed correctly, the back squat demands some real power from your legs and hips. At the same time, your lower back, core, and stabiliser muscles are all tested too – making the squat one of best full-body workouts you can do. It’s a true measure of overall strength. And it’s no wonder the exercise forms part of the Olympic weightlifting category. But despite common beliefs, it’s not an exercise reserved only for champion bodybuilders. The benefits are incredible for everybody, whether you’re looking to build a ton of muscle or not. Benefits of doing a Back Squat:
- Improve strength throughout your body
- Maintain your mobility as you age
- Improve your balance
- Get a toned bum
- Get tighter abs
- Strengthen multiple joints at once
- Improve your posture
Important notes about the back squat
Any resistance exercise that is performed incorrectly can put you at risk of injury. The back squat is no exception. Correct form is important (we cover the recommended form for safer squatting below).
Also, you are advised never to squat when feeling particularly fatigued, as if you lose control of the weight, it can cause your form to waver and put your knees at risk of twisting. You should always allow sufficient time to recover between sets. And the exercise is best performed with a spotting partner.
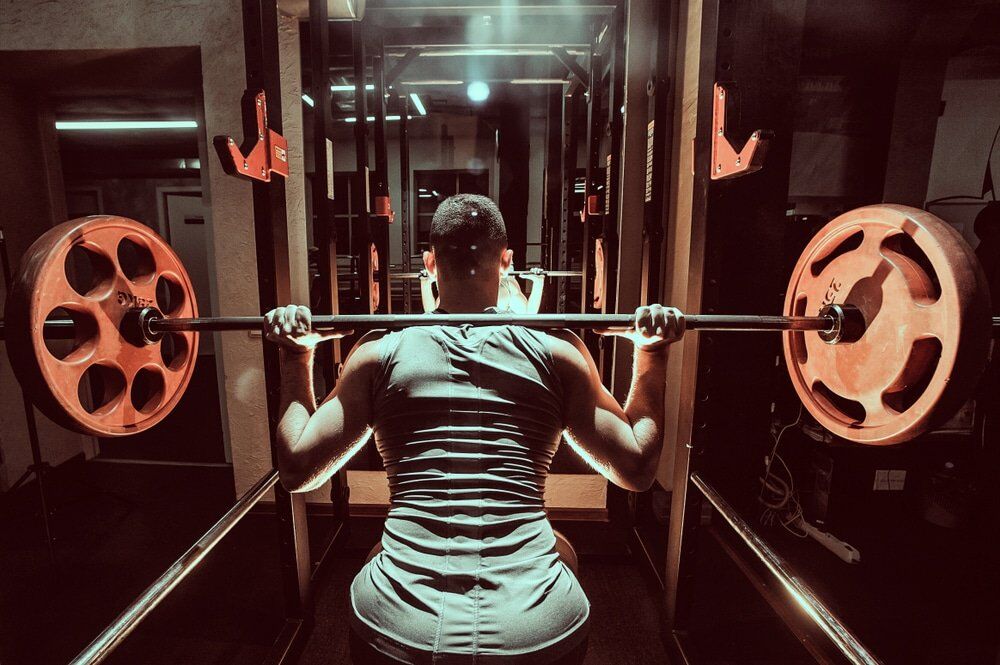
How to do a back squat (step-by-step)
The following instructions are for those using an Olympic bar on a squat rack. You can perform the exercise without a squat rack but this is only recommended for those using lightweight barbells. Typically, an Olympic bar alone weighs 20-25kg. Let’s get into it …
How To Do A Back Squat
- Set-up the rack
You want the bar to be placed at chest-level on the rack. This means you’ll be stepping under the bar to get it on your shoulders … but that beats tip-toeing to lift it from the rack.
Set the weights on either side of the bar and lock them in with a weight collar - Step into the rack
Duck below the bar and rise up to rest it on your traps – the shoulder muscles just below the base of your neck.
Set your feet so your heels are shoulder-width apart and your toes point outwards a little bit. When you grip the bar, keep each hand slightly outside the line of each shoulder. Keeping your eyes fixed on a point straight ahead of you (not up, down or to the side in any way), raise the back of your head and tuck your chin towards your neck. This will keep your neck nice and straight – in line with the rest of your spine. - Lift the bar
Now you’re in position, keep your elbows pointing at the floor and your chest up – imagine you’re beaming some kind of superhero light from the centre of your chest.
Breathe into your stomach and hold. Push your weight into your heels and lift the bar from the rack – still holding your breath. At this point, make sure the bar feels comfortable and balanced on your shoulders. - Step out of the rack
Take a step back and reset your feet to shoulder-width – keeping your stomach and lower back (core) locked-in tight throughout the movement.
Breathe out. This is your best chance to ‘exit’ the workout if it doesn’t feel quite right, so be honest with yourself and only proceed to Step 5 if you’re confident. - Squat
Keeping your heels cemented to the floor, begin the squat (avoid dropping straight down and avoid lifting your heels at any point).
Squat by bending your waist first, before shifting your body weight into your heels. Trainers often tell clients to imagine sitting on a park bench (or something similar) here. At the same time, it’s important to keep your knees stable and pointing outward … but no further than your toes. The depth of the squat can vary depending on your goals, experience and overall strength. It’s good to have a reference point for a depth you’re comfortable with. Some lifters aim to get their hips as low as their ankles before rising back up. As a general rule, strive to get your hips below your knees before moving upwards. If you’re struggling here, then drop down a weight or two and perfect your form first. - Rise up
Push your bodyweight into your heels and resume a standing position, driving your hips at the top of the movement.
- Rinse & Repeat
Continue on within your desired rep range.
Tips on back squat form
- Resist the temptation to drop down and bounce into the squat
- Never lift your heels
- Look straight ahead at all times
- Allow for a healthy recovery break between sets
- If you’re struggling to maintain correct form, exit the workout
Some closing advice on back squats
Even though squatting is a power exercise, avoid lifting wads of iron straightaway.
Practice the movement without a weight. Then move onto an empty bar before progressing through the weights.
Concentrate on your form as much as possible and avoid all distractions during the workout.
When you’re starting out, you’ll probably notice your body struggles to cope with the movement and your legs may shake. Basically, your stabiliser muscles are being used to help control the weight here.
This is normal, and the more you perform the squat, the less it will happen – which is why it’s advised to start off light, so you build up the strength of those stabiliser muscles.
— Note: If you squat using a Smith machine, then your stabiliser muscles will not be tested and the benefits of the squat will become heavily diluted. —
As the exercise requires so much effort from your entire body, it’s advised you consult a physician before attempting a squat.
No Comments yet!