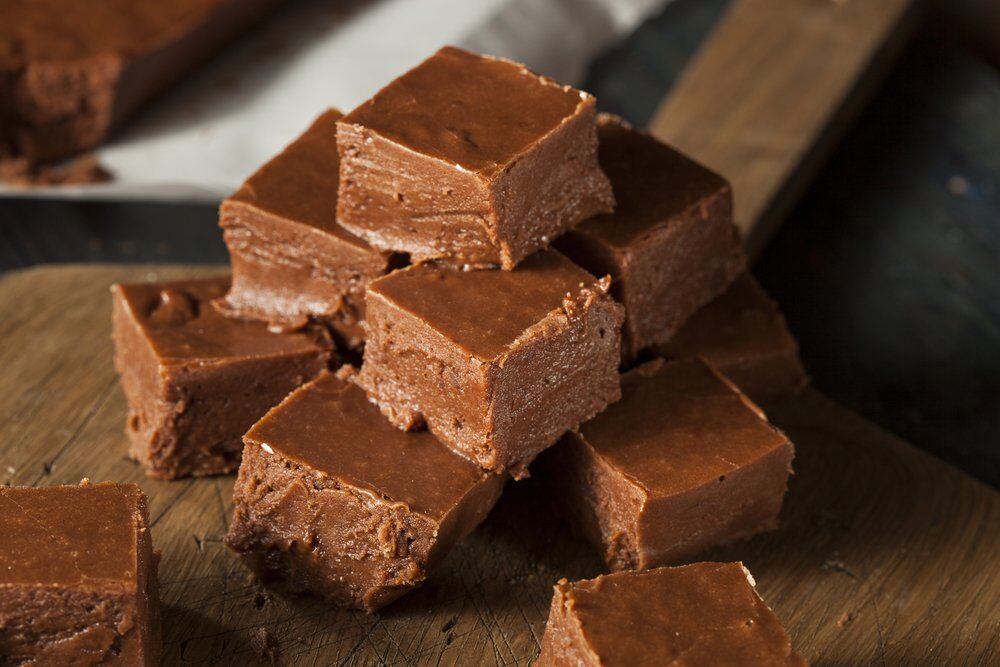
This deliciously decadent vegan fudge couldn’t be simpler to make and tastes amazing. Packed with plant-based protein and loaded with nutrients, healthy fats, vitamins and minerals – you can indulge in this sweet treat with a completely clear conscience! If you can resist the urge to snaffle the whole lot, it’s also freezer friendly! Just a word of warning – this fudge is seriously moreish!
Homemade fudge also makes a wonderful edible gift for family and friends at christmas, and is a perfect crowd-pleaser treat to bring along to any festive party or event! 
Nutrition per Piece of Fudge: kcal: 48, Protein: 3g, Carbs: 3.5g, Fat: 2g
What You’ll Need:
- Food Processor
- 8×8 square tin
- Baking Paper
Ingredients:
- 100g TPW Pea Protein 80, Chocolate Silk flavour
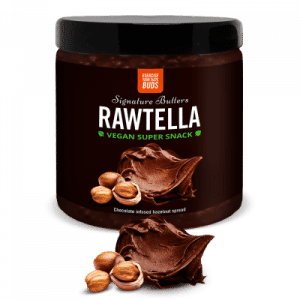
- 100g Rawtella
- 100g Pitted Dates
- 60ml Unsweetened Almond Milk
- 50g Roasted Hazelnuts
- 2 tbsp Oats
Method:
- In a food processor, pulse your roasted hazelnuts and oats for a few seconds until broken down, you can make this as chunky or as fine as you like, just be careful not to process them too much or it will become powder-like and won’t add any texture to your fudge. Remove the hazelnuts and oat mixture from the food processor and set aside.
- Next, add the Pea Protein, Rawtella, dates, almond milk to the processor and mix to combine. You may need to process this for 10-20 seconds at a time, then scrape the mixture down from the sides and process again until you’re left with a sticky and wet mix.
- Add the pulsed hazelnut and oat mix back to your wet mixture and process again for a few seconds until they are incorporated evenly into your fudge mixture. You want a sticky fudge mixture with some little nutty and oaty chunks for texture.
- Next, line an 8×8 inch square tin with baking paper, leaving an overhang around the edge to make removing the fudge easier, then fill with your fudge mixture.
- Using a spatula or wet hands, smooth the fudge in the tin and top with another piece of parchment paper and smooth over the top, pressing firmly to make sure your fudge is pressed in an even layer.
- Place your fudge in the freezer for at least 1 hour or refrigerate for at least 3 hours until the fudge is completely firm and you can cut through it easily with a knife without it getting stuck.
- Once the fudge is set, lift out of the tin with the baking paper.
- On a chopping board, slice your fudge into 36 squares (6×6) with a sharp knife.
- Store in the fridge or freezer!
- Dig in and enjoy!


No Comments yet!