

Milk has been consumed by humans for centuries, particularly in the Western world. But outside Europe and the Americas, milk is much less commonly consumed. In fact, many people are lactose intolerant. Meaning they can’t digest lactose due to not having the enzyme lactase in their body. People with lactose intolerance have had to find alternatives to dairy or have avoided it completely.
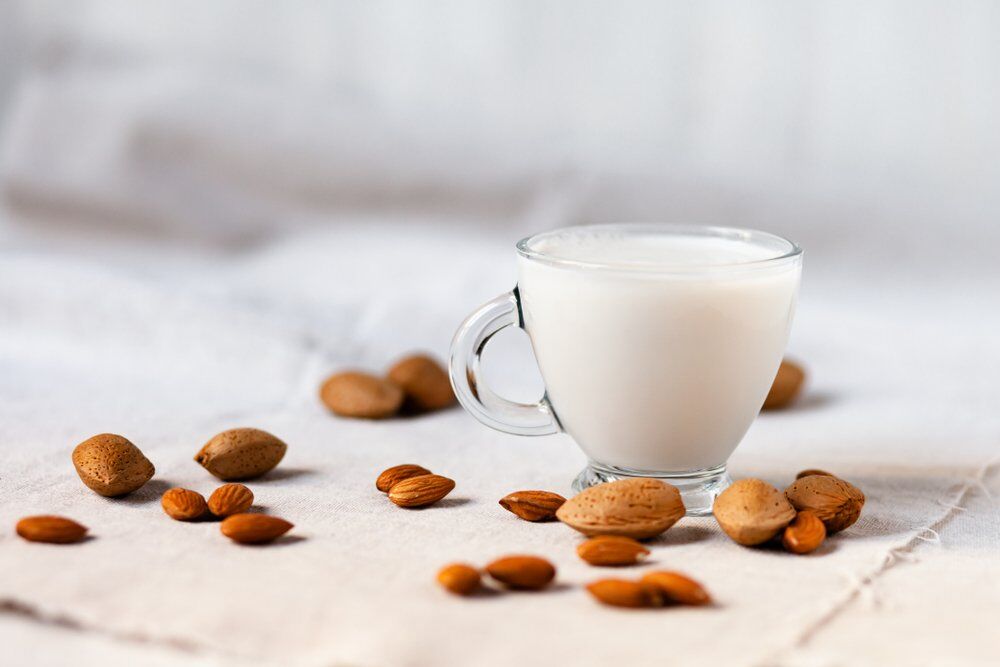
With veganism becoming more and more common, a whole host of other people are now looking for dairy-free milks to have with their breakfasts or in their tea. This has led to the rice in nut milks. Almond milk, cashew milk, or any form of nut milk are becoming increasingly popular.
Of course, one of the main reasons why people become vegan is to help the environment. Purchasing plastic bottles filled with almond milk every week isn’t exactly the most eco-friendly option around. Nor is it economical. So increasingly, people are looking at ways to make their own nut milk.
There are many benefits to this, you can cut down on your use of single-use plastics, you can make it as sweet as you like, it works out cheaper, and there is definitely satisfaction in making your own nut milk compared to just picking up a carton at the store.
In this article we will take a look at the benefits of nut milk, and then we will provide you with step by step instructions for how to proceed.
Benefits of Nut Milks
If you are going to make your own nut milk, then it would be nice to know that there are many benefits to doing so. The most obvious benefit is that nut milk is completely lactose free, meaning that people with lactose intolerance can drink it without experiencing any unpleasant side effects.
Another benefit of nut milk is that it is vegan-friendly and cruelty free. The moral arguments surrounding dairy is a subject for another day (and certainly another writer!) but even the most hardcore vegan would admit that nuts don’t have feelings, and that nut milk is cruelty free!
Whether nut milk is truly better for the environment than cow’s milk is debatable, both require large tracts of land, both must be farmed and the nuts need to be harvested. But as methane is one of the largest causes of global warming, and nuts don’t produce any that’s at least one point in their favour!
But it’s not just ecological or moral benefits, there are health benefits too! Firstly, if you’re looking to lose weight then nut milk may be a great choice. It is roughly half the calories per serving as cow’s milk. That means that if you made zero change to your diet other than switching from cow’s milk to almond milk you’d save yourself around 1,400 calories per week.
Based on one cup of Almond milk being 50 calories while one cup of cow’s milk being 146 calories, and assuming that you consume around two cups of milk per day (200 calories saved per day multiplied by 7). [1]
The nuts themselves are healthy too, high in many vitamins and minerals. Surprisingly, they are also a good source of calcium – a traditional benefit of cow’s milk.
How to Make Your Own Nut Milk
It doesn’t really matter which type of nut you use (and we’re not getting into a debate about whether certain nuts are actually seeds or not) the process is the same. To make your own nut milk you are going to need the following:
- One Cup of raw unsalted nuts (cashews, almonds, or whatever you fancy)
- A container to let them soak in
- Water
- A powerful blender (seriously, do not try this with a cheap blender)
- A container to store the nut milk
- Sea salt
- A form of sweetener (dates, agave nectar, maple syrup, sugar)
Don’t you hate it when you’re halfway through a recipe and instruction number 5 says “Then store in fridge for 10 hours” and you realise that this recipe is going to take 10 hours longer than you had anticipated?
Well we’re going to avoid this irritating issue by starting our recipe with this warning. YOU NEED TO SOAK THE NUTS OVERNIGHT. If you’ve got vegan guests coming to stay tomorrow, then do this recipe now!
Step By Step Guide to Nut Milk
- Fill a glass container with one cup of raw unsalted nuts, and then cover the nuts with water. Place the container in the fridge and leave overnight to soak (or for 10-12 hours if you’re doing this in the morning).
- Once the nuts have soaked, strain them over the sink so that all of the water is gone, you just need the soaked nuts right now.
- Place the nuts in a blender and add four cups of water. This is the ratio you want to try first, though you may find it too watery or not watery enough. It may take a few goes before you find the right consistency for you.
- Add a little bit of salt, and then you can add your sweetener. Particularly if you are using dates which need to be fully blended. If you are using a syrup or sugar then you can of course add it afterwards, but it won’t mix quite as well. It’s great to do it afterwards if you are making nut milk for a large group of people who have different sweetness preferences.
- Blend until the nuts are completely pulverised and you have a milk-like consistency.
- Grab a strainer and place it over a container (use a fancy, hipster glass carafe for optimal Instagram points). This will help to remove any nut particles and give your milk a smooth consistency.
- Pour into the container and leave in the fridge until it is properly cold.
That is all there is to nut milk. It’s actually very simple to make, provided you have the right equipment. Definitely don’t skimp on the blender. Blending nuts can be very hard work on blenders, and if the blades aren’t sharp enough or the motor isn’t powerful enough then it can easily get overloaded.
References
[1] https://www.healthline.com/nutrition/almond-milk-health-benefits#section2
No Comments yet!